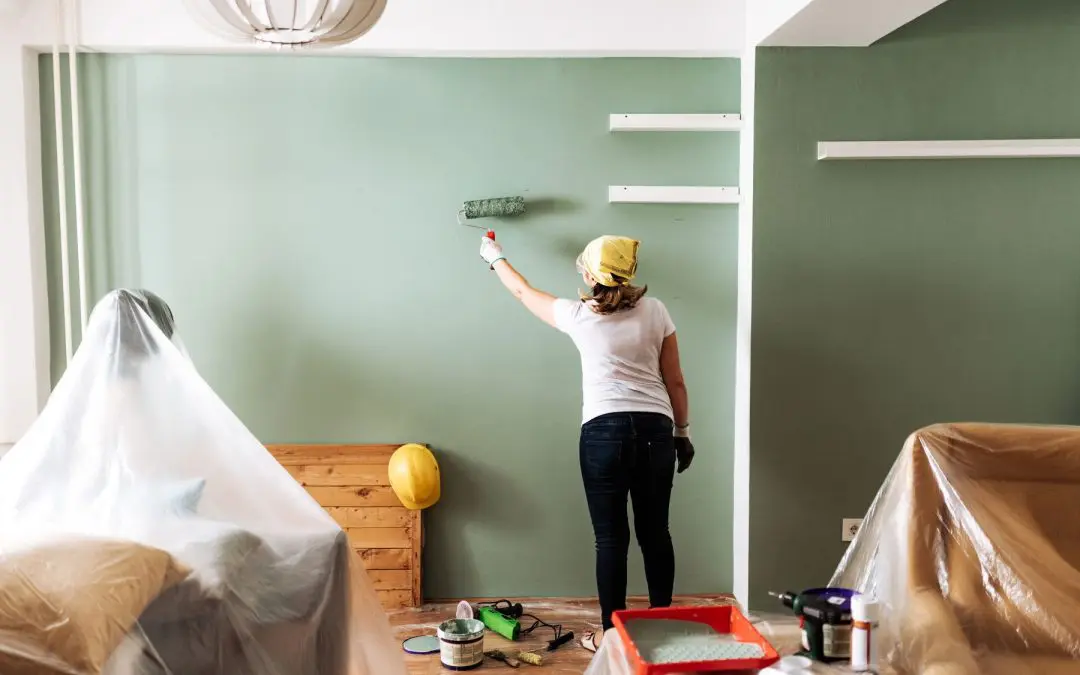
Painting the interior of your home is one of the most transformative, cost-effective updates you can undertake. It’s a chance to refresh, brighten, and infuse your personality into your living space. Let’s dive into the essential interior painting tips that will take your project from amateur attempt to show-stopping success.
Interior Painting Tips: The Foundations
Tending to Your Surfaces
Start by thoroughly cleaning the walls. Dust, grime, and grease can prevent paint from adhering properly, leading to peeling or an uneven finish. A simple wash with a solution of mild detergent and water, followed by a rinse with clean water, will usually suffice. For kitchen walls or areas prone to grease, a degreaser is a must.
Next, it’s time to repair any imperfections. Fill all nail holes, cracks, and dents with spackle. Once the spackle is dry, sand the patched areas until they are perfectly smooth and flush with the surrounding wall. Dust created by sanding must be wiped away completely. Any irregularity you leave behind will be magnified once the paint is applied, particularly with glossy finishes.
The Indispensable Role of Primer
Many premium paints claim to be “paint and primer in one,” and while these are excellent products, they are not a substitute for a dedicated primer on certain surfaces. Primer serves three critical functions: it seals the surface, blocks stains, and provides a uniform, adhesive base for the topcoat. If you are painting new drywall, switching from a dark color to a light one, or covering patched areas, a dedicated coat of quality primer is essential for achieving true color and an even finish without applying multiple wasteful coats of expensive paint.
Mastering Material Selection and Application
Choosing the right paint and tools can be as important as the preparation itself. Quality materials save you time and yield a significantly better result.
Understanding Paint Sheens
The sheen you choose dramatically impacts the look and durability of your walls. Flat or matte finishes hide imperfections well and offer a sophisticated, non-reflective look, but they are less durable and harder to clean. Eggshell and satin finishes are the most common choices for walls, offering a subtle glow and much better washability. Semi-gloss and high-gloss are typically reserved for trim, doors, and cabinets because they are highly durable and reflective, which makes them easy to clean but also highlights every surface flaw. Match the sheen to the room’s function and the condition of your walls.
The Tools That Make the Difference
Invest in high-quality brushes and rollers. A good angled brush makes cutting in (painting the edges where the wall meets the ceiling and trim) much cleaner. For rollers, use the correct nap size. A shorter nap is ideal for smooth walls, while a thicker nap is better for textured surfaces. Quality tools hold more paint and provide a smoother, more consistent finish, reducing drips and streaks.
Techniques for a Professional Finish
When applying paint with a roller, work in small sections and use a “W” or “M” pattern, filling it in without lifting the roller. This ensures even coverage and prevents heavy lines. Always maintain a wet edge; start your new section where the previous one is still wet. This avoids lap marks, which are noticeable streaks that appear when you roll fresh paint over partially dried paint. When cutting in, use a steady hand and load your brush with only enough paint to complete a continuous stroke, taking care not to drag the brush against the ceiling or trim.
Interior Painting Tips: Frequently Asked Questions
How long should I wait between coats of paint?
Always follow the manufacturer’s drying time recommendation, which is usually listed on the can. Typically, this is two to four hours, but humidity and temperature can extend this time. Rushing the second coat can lift the first one or lead to an uneven, patchy finish.
What is the best way to clean my brushes and rollers?
For latex (water-based) paint, rinse tools thoroughly with warm water and a bit of mild soap until the water runs clear. Spin the roller covers or reshape the brushes, and hang them to dry completely. For oil-based paint, you will need a specific solvent like mineral spirits.
Is it better to paint the trim or the walls first?
For most DIY projects, it is easier and more efficient to paint the ceiling first, then the walls, and finally the trim. This allows you to cut in quickly on the wall without worrying about getting paint on the trim. When painting the trim, you will have a cleaner line by taping off the drywall rather than trying to tape off the wet trim.
GreenTech Home Inspections offers home inspections to customers in the Greater Las Vegas area. Contact us to request our services.

